Tuesday, December 10, 2013

Hallie's Summer, Fall, and Winter 2013


Hello from Hallie on Vashon Island,

It is winter here, freezing cold and sometimes sunny. Since the summer's last post I've accomplished quite a bit. My last post showed how most of the exterior was complete. 
This pic shows the unfinished exterior before we moved out of the O Space warehouse.
This is the stage layed out in the new summer location... 
...where I added the legs and leg frames.

This is a picture from inside of the dance room, looking out.

Dancer friends admiring the staging options! The side walls are open, the back is not.
Since then, the rains proved to me that I was NOT finished with the exterior.  Last summer I installed the plexiglass windows but the aluminum window frame seemed to leak. After moving Foxy (a fourth time), most of the fall was spent trouble shooting, sealing, then removing sealing and re-sealing the window frame. I resolved this leakage with rubber/aluminum flashing strips. I am waiting for the next heavy rain to see what happens... so far, so good.


The front windows, before plexiglass is installed.

After plexi was installed. Even with all this caulking above above the frame...
...there was lots of water leakage. Notice the discoloration above the frame.
The fix with eyebrow rubber strips above the window frame. (sorry about fuzzy lens)

Other leaking collected in a few spots near the hinges inside the dance room. Sarah warned me to super-weather-proof every crack and crevice. After all the flashing was installed last summer, the only leaky gaps were in the top corners of the stage walls and, well, every inch of the lower stage wall edgesI designed and ordered aluminum flashing for these areas, fashioned to be removable by using latches and gaskets. As with most problems on this project, each section's gap is unique. This means I have to custom order gasket/tubing for each one. Gaskets are expensive, so I have to wait until I can afford it. So the gasket project is temporarily on hold.

Flashing duct taped in place until I intall gaskets.
The duct taped flashing for one of four upper corners.


You fans of DIY will love to hate the story of my beloved door.  In my last post I showed how I removed the RV door and put it into Foxy the MPD. The next step was just as fun: tiling the door exterior with PBR cans. I've wanted to do something with recycled cans since EcoDance started three winters ago!


The door's final 2 steps: to cover both sides with plexiglass. The door needs some sheer strength, so the plexi provides it. But, alas, a brisk windstorm blew the door off Roxy's hinges before I could pick up my plexi order. I am glad to see this happen with Roxy safely parked, rather than by watchibg it fly away from the rearview mirror on the highway. And then salt to the wound: I picked up the plexi but it was too wide. Arg! I must go back to Tacoma (everything is two hours away when you live on an island, thus the Arg!).

The flashing project and the door project are on hold. So, I started demolishing the parts RV. I have no experience with propane appliances and DC electrics; I avoided the demo project up to this point. EcoDance continually teaches that there is nothing like action to teach you what you need to know. As it turns out, removing a stove, electrics, a breaker box, a sink, a water heater, a water pump, a water tank, and plumbing is doable. I still need help moving the fridge/freezer (which wont seem to budge) but everything else has been removed! This project makes me value my decision to buy a parts rv and cart it around with me for a year. The propane/DC/AC fridge-freezer alone is worth more than than I paid for the RV. All those parts add up, and I'd say I saved at least $1000 by transferring the old (but in good condition) stuff to Roxy. Eventually I can sell the RVas a flatbed frame, and maybe fund the cabinets, appliance, plumbing and electric installation project that is coming up. Guess what that means? After three years, I see the light at the end of the tunnel.

 Over and out from my current location! -Hallie

Monday, July 29, 2013

Update from Sarah

It's been a while since I've posted info. and pics about my building process, so here it is - a little update before I head off and begin touring again.

It was cold in Ludington much of my stay and I wasn't able to live in Rosie through the winter but in May I happily moved back in and began working again. One of the first things I did was to attach a ladder to the outside of the structure so I could climb up to the roof with ease.


One of the difficulties with building on the road is that you are generally in a hurry and fighting the elements. When I left Champaign Sept. 2011 there was a gap between all three stage panels and the roof, which meant there were waterproofing issues with one side area and the back of Rosie. 


In Texas I used some reclaimed flashing to cover the gap to help with the rain. It was not a pretty sight, but it worked for a while.


Now I finally had some time and a little more money to build out and to install some weatherstripping between the tiny space that was left. It felt great to tear off all that old flashing!


The next project was the roof - again! I was warned that flat roofs were not a good idea, but I tend to be really stubborn. I did NOT want a pitched roof - meaning I have paid the price for not listening... yup - puddling and leaking. I should add that there was a 2" incline on one side but the plywood got rained on and some of it expanded and contracted before I had time to attach the galvanized steel - and because I needed to move there wasn't enough time to tear it off and start over. So a year and a half later I'm having problems with the roof. I am grateful to Mark Fisher for coming out and helping me install a corrugated roof over the flat roof. So far so good:)


After adding the flashing around the edges for the roof more water than usual began streaming off and hitting the windows and door. I used some of the old flashing to create thin metal awnings to give the door and both windows a little more protection from the rain. It doesn't look like much but it helps and the metal is thick enough for high impact winds i.e. driving down the highway.


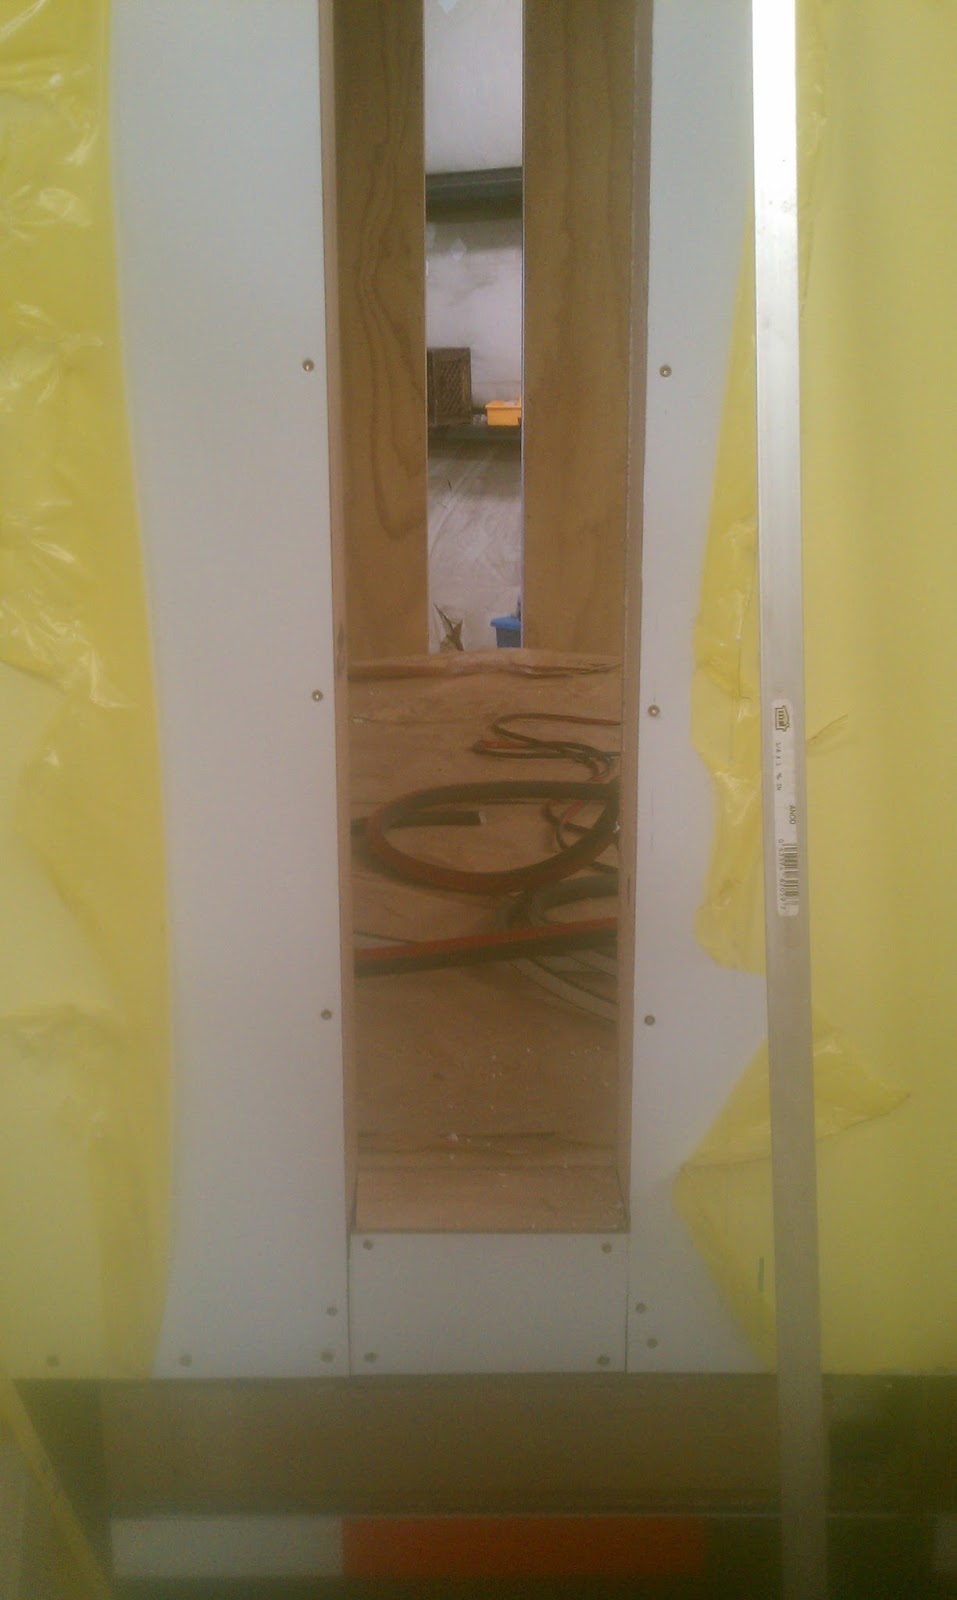
After that I began working on one of the most important components of my MPD - the stages! I built them like you would build a floor - with studs only 12" apart because I wanted to make sure they were strong. They are incredibly strong and incredibly heavy. In the past I have needed help bringing the stages up and down and I would like it to be a one person operation. The first thing I did was take 1 stage apart, tear off the OSB and replace it with a thin, lightweight plywood. That almost made it light enough... but not quite. So I began building a box frame on the inside.


And I bought a pulley and some rope...


and actually brought one of the stages up and down by myself! That was an exciting moment. I laughed and cried and ran inside to kiss my sister and brother-in-law. Sometimes it's the simple things.

Soon I'll be leaving Ludington to continue the tour I began September 2011. For more information about my traveling journey take a peek at my blog: http://raw-art-tour.blogspot.com/. I'll be posting information about the journey in the next week or so.


Thanks for reading:)


Tuesday, July 16, 2013


Hello EcoDancer peeps,
Since I last posted, a lot has been accomplished. We built aluminum frames for the dwelling room and dance room windows.
WINDOWS:


We installed container door locks on the hinged walls.
 HINGED WALL DOOR LOCKS


I installed a door from the parts RV.
RV DOOR INSTALL


Lastly, we riveted aluminum to the SIP seams, the roof and the roof/wall corners. This part was a wonderful goopy mess, thanks to 7 sausages of Sikoflex, an industrial waterproofing glue. WATERPROOFING THE EXTERIOR


Our final step last week was to move out. Our time is up at the Open Space's warehouse. So we packed up the tools, the remaining SIP panels (that are the unattached stage corners), and exited through the only ground level garage door. This was a 6 hour process because we had to see-saw Foxy out of the warehouse in order to turn her to face the truck. See-sawing was done in parts by hand, fork lift, and truck. But, phew! We made it out. Thank you Open Space! We are safely relocated to our third build location, yet another backyard. 

Now I am on to finishing the back end. This part is tricky because it is where stage legs, door locks, waterproofing materials and holding devices for the extra stage panels converge. I'll spare you the details until I have images to illustrate all this nonsense clearly. Over and out for now.  -Hallie

Tuesday, March 26, 2013

Progress in Seattle

 Hello EcoDance followers,
Are you still out there!? I am! I've been in my new building location since January.  After bleaching and protecting badly mildewed ply panels, we finally bolted the walls to the end of the trailer with piano hinges and layed out the removable extra panels to make a 12 foot by 24 foot stage.  Voila!

 Then we took to removing panel sections to install wrap-around windows in the dwelling room.  It looks so different and inviting to stand inside the front room.... the next step is to intall an aluminum frame. Progress!